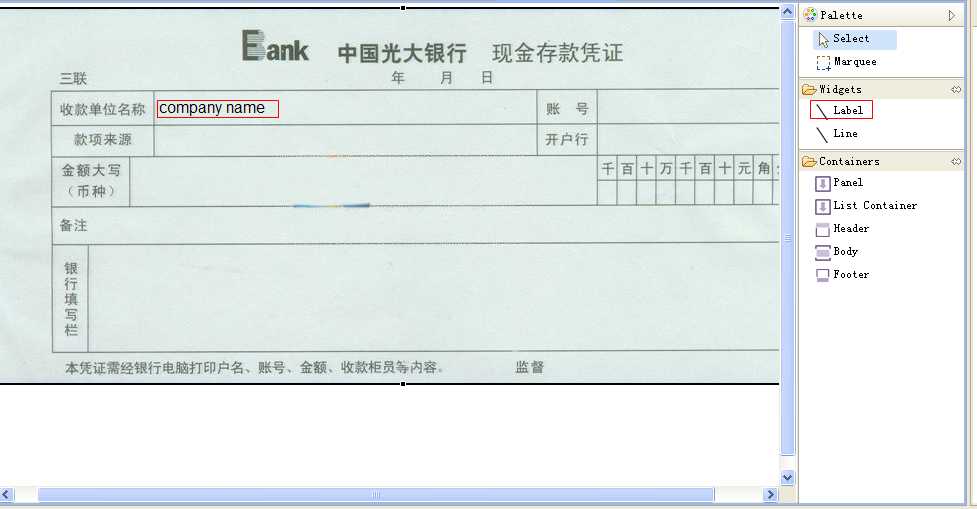
Designing printing template: printing on preprinted vouchers
Prerequisite
This task is based on a preprinted voucher. You should get a scanned image of that first.
Procedure
1 In background image property of Panel, select the scanned image.
2 In real width and height properties, set the precise width and height number. The size must match the real preprinted voucher.
3 Add the Label widget as the filled-in texts.
▪ Click Label on the Palette and then click the position where to put it on the background.
▪ In dataName, set the data to be displayed in the position. You can select from Context or type manually.
▪ Set the location X and Y properties to make the Label positioned precisely.
▪ If you doesn't want the Label value displayed in the editor, set hide property as false. It will display 'D' instead.
▪ If you want to display multiple lines of texts, set wrap property as true and set maximumRows more than 1.
5 Save the file.
Go up to


