Creating Action Group by Action Group Editor
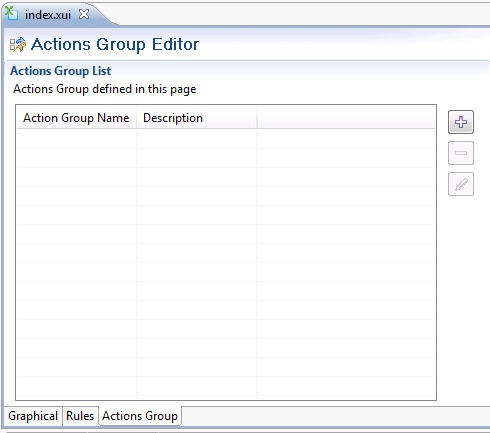
By Action Group Editor, you could define new Action Groups and edit them.
This section describes how to use Action Group Editor to create and configure Action Group.
Creating Action Group
1 Click Action Group tab to launch Action Group Editor.
2 Press

button to launch the creation wizard.
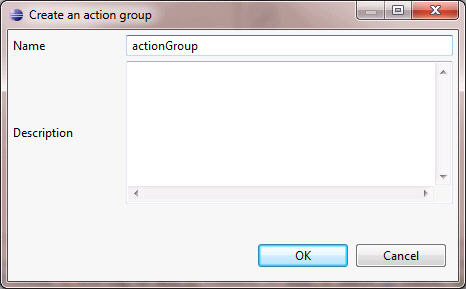
3 In the creation wizard, enter the Action Group name and description.
▪ Name: The name of Action Group cannot start with numbers or include space and special characters.
▪ Description: To describe the function or usage of Action Group.
4 Press OK. The Action Group is created and displayed in the Action Group list.
Configuring Action Group
2 Two options are provided to set actions for an Action Group.
▪ Reuse existing actions: see the next step.
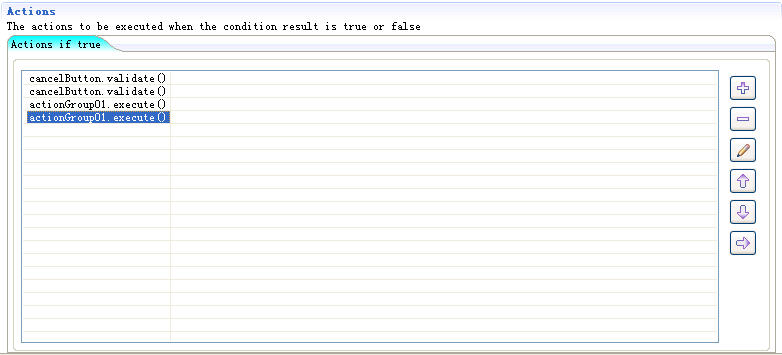
3 In the Actions panel of the Rules tab, select multiple actions from the list of actions with the help of CTRL or SHIFT.
4 Copy or cut the set of actions and paste it to the Actions panel of an Action Group that have been previously created.
In this way, the condition associated with these Actions, if any, would not be added into the Action Group. You should manually define it.
Additionally, you can also prompt existing Actions into a Action Group and then use Action Group editor to edit that Action Group.
Go up to


 button to launch the creation wizard.
